
Just Brewed - Tips & Tricks
Just Brewed is here! This post is all about my tips for making this quilt and having lots of fun while you do. Let’s jump right in!
Tip One:
When prepping your fabrics in the first few pages of the pattern, its best to leave a liiitle bit of wiggle room. The cuts given in the pattern are always at the interest of using as little fabric as possible, but this does mean you have to be super careful and accurate. When subcutting shared fabrics, give yourself and extra 1/8” whenever you can so you don’t risk being short later on.
Tip Two:
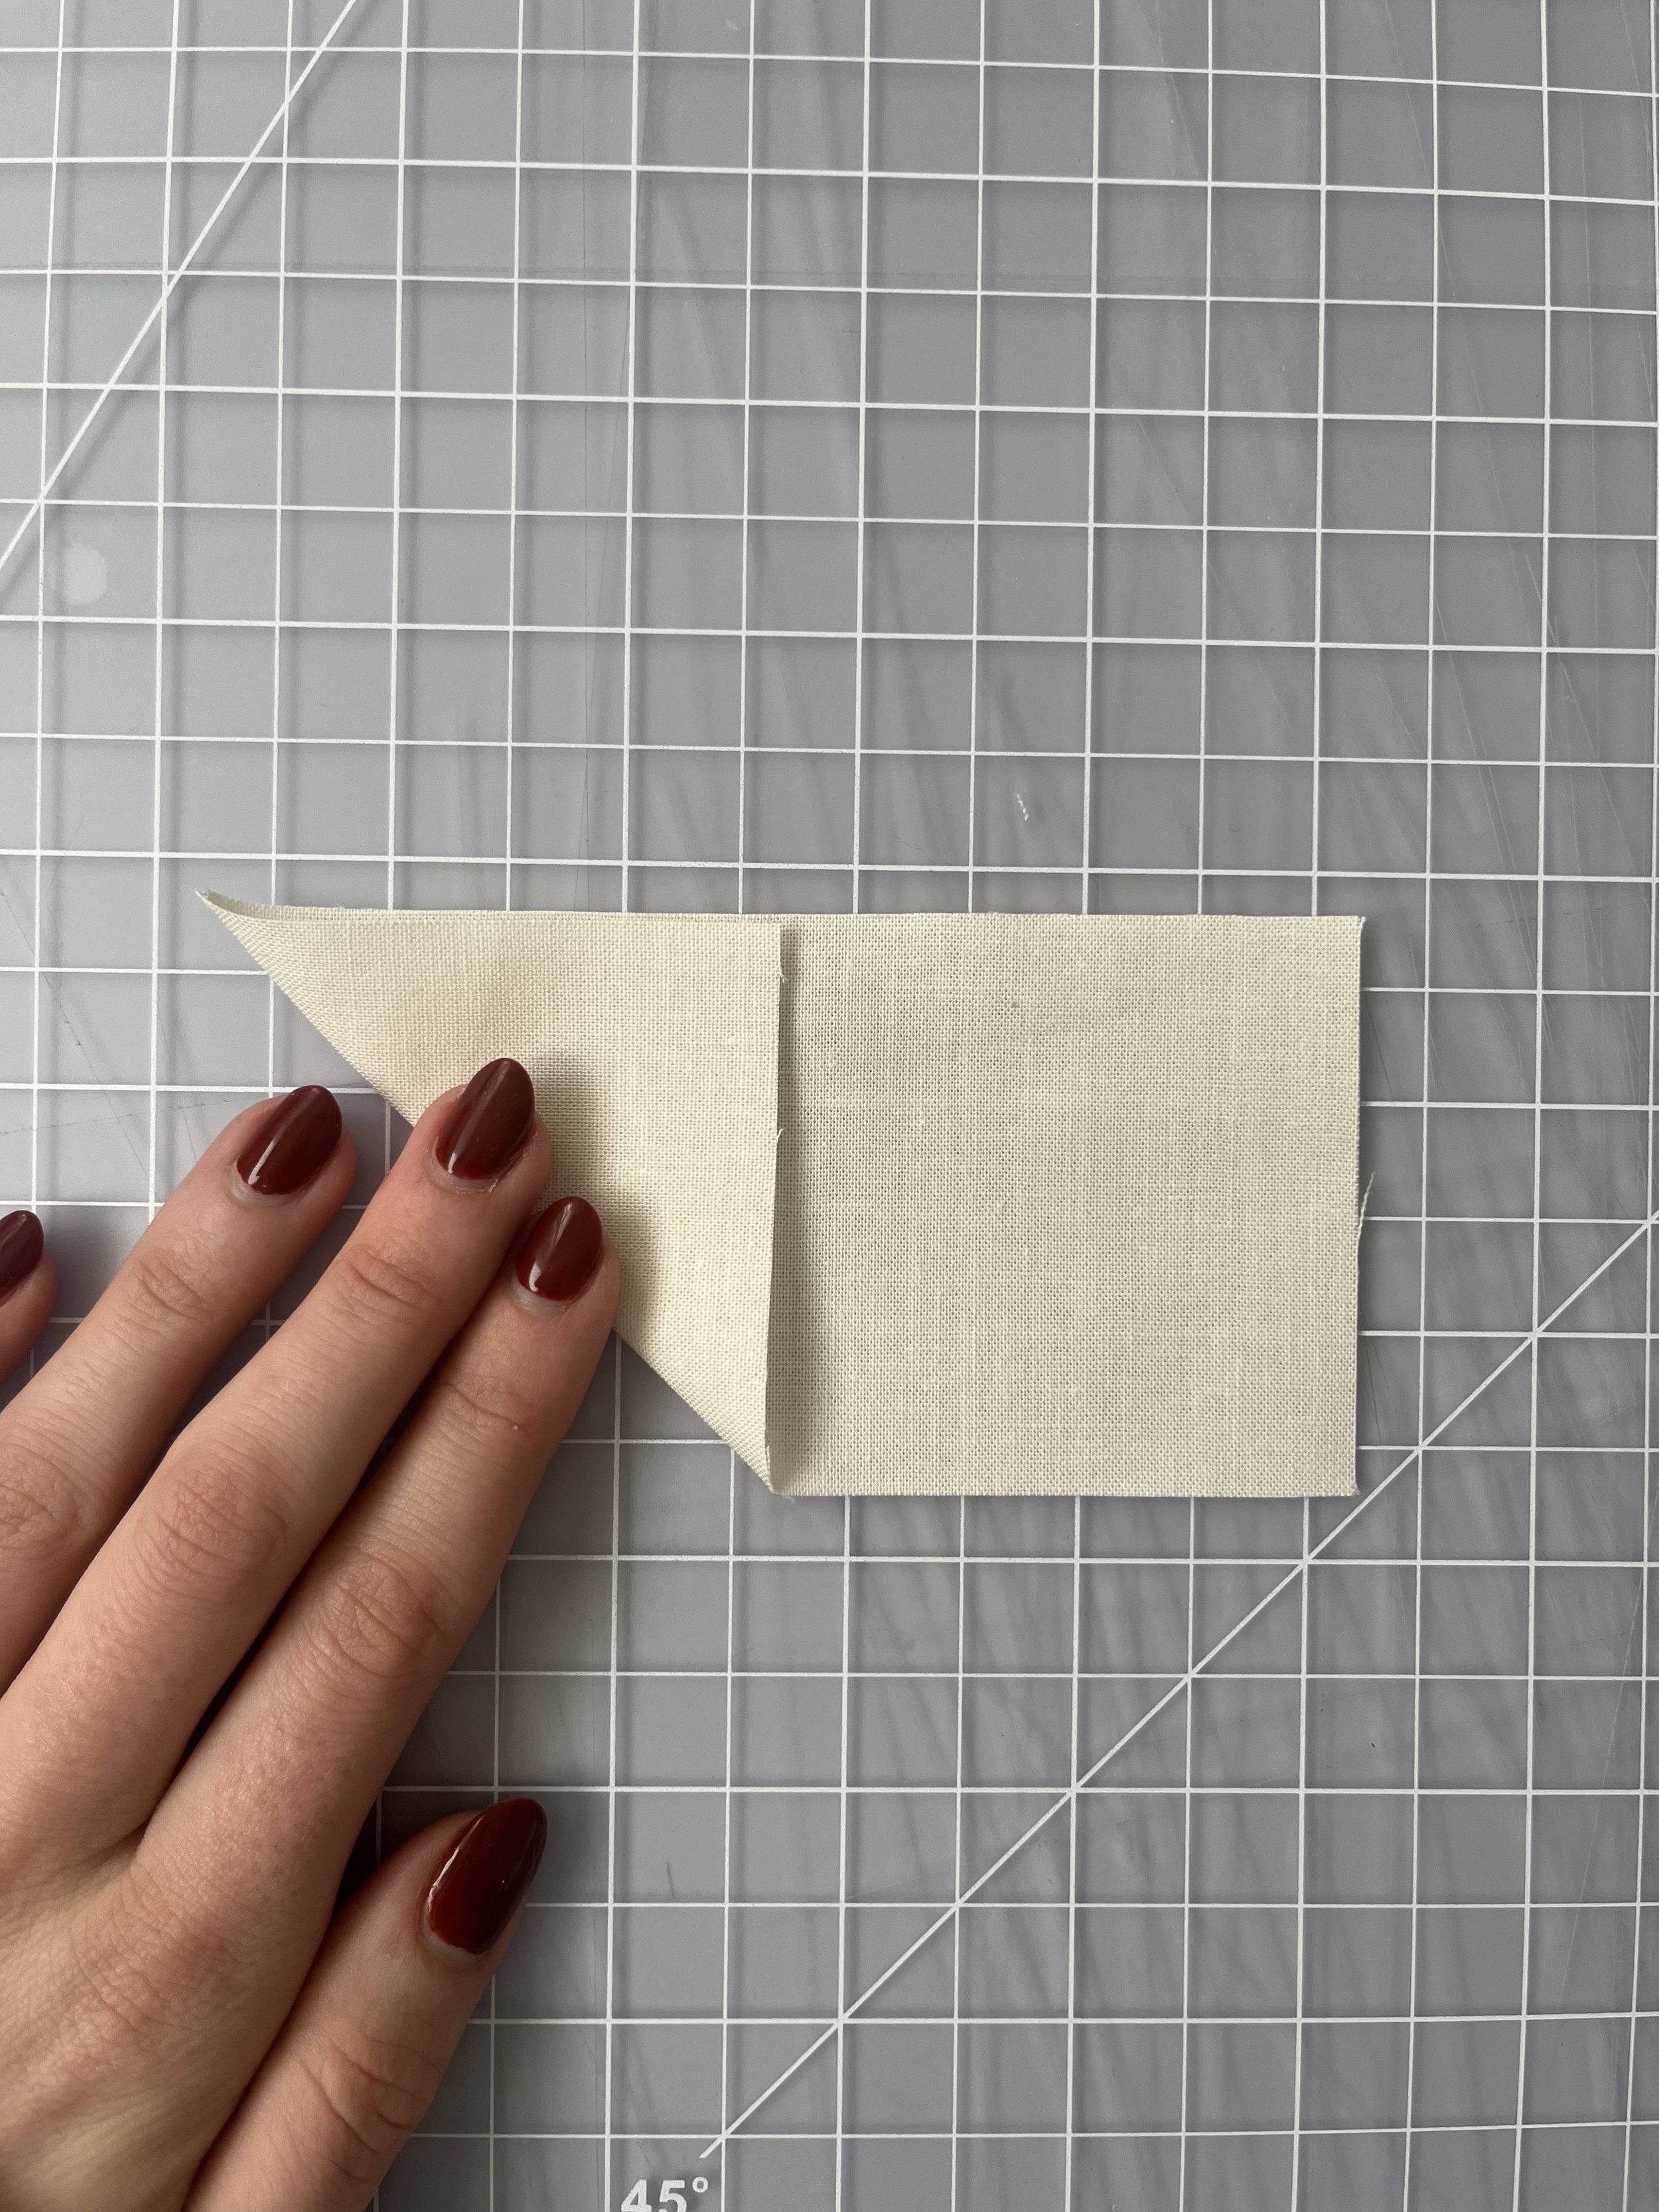
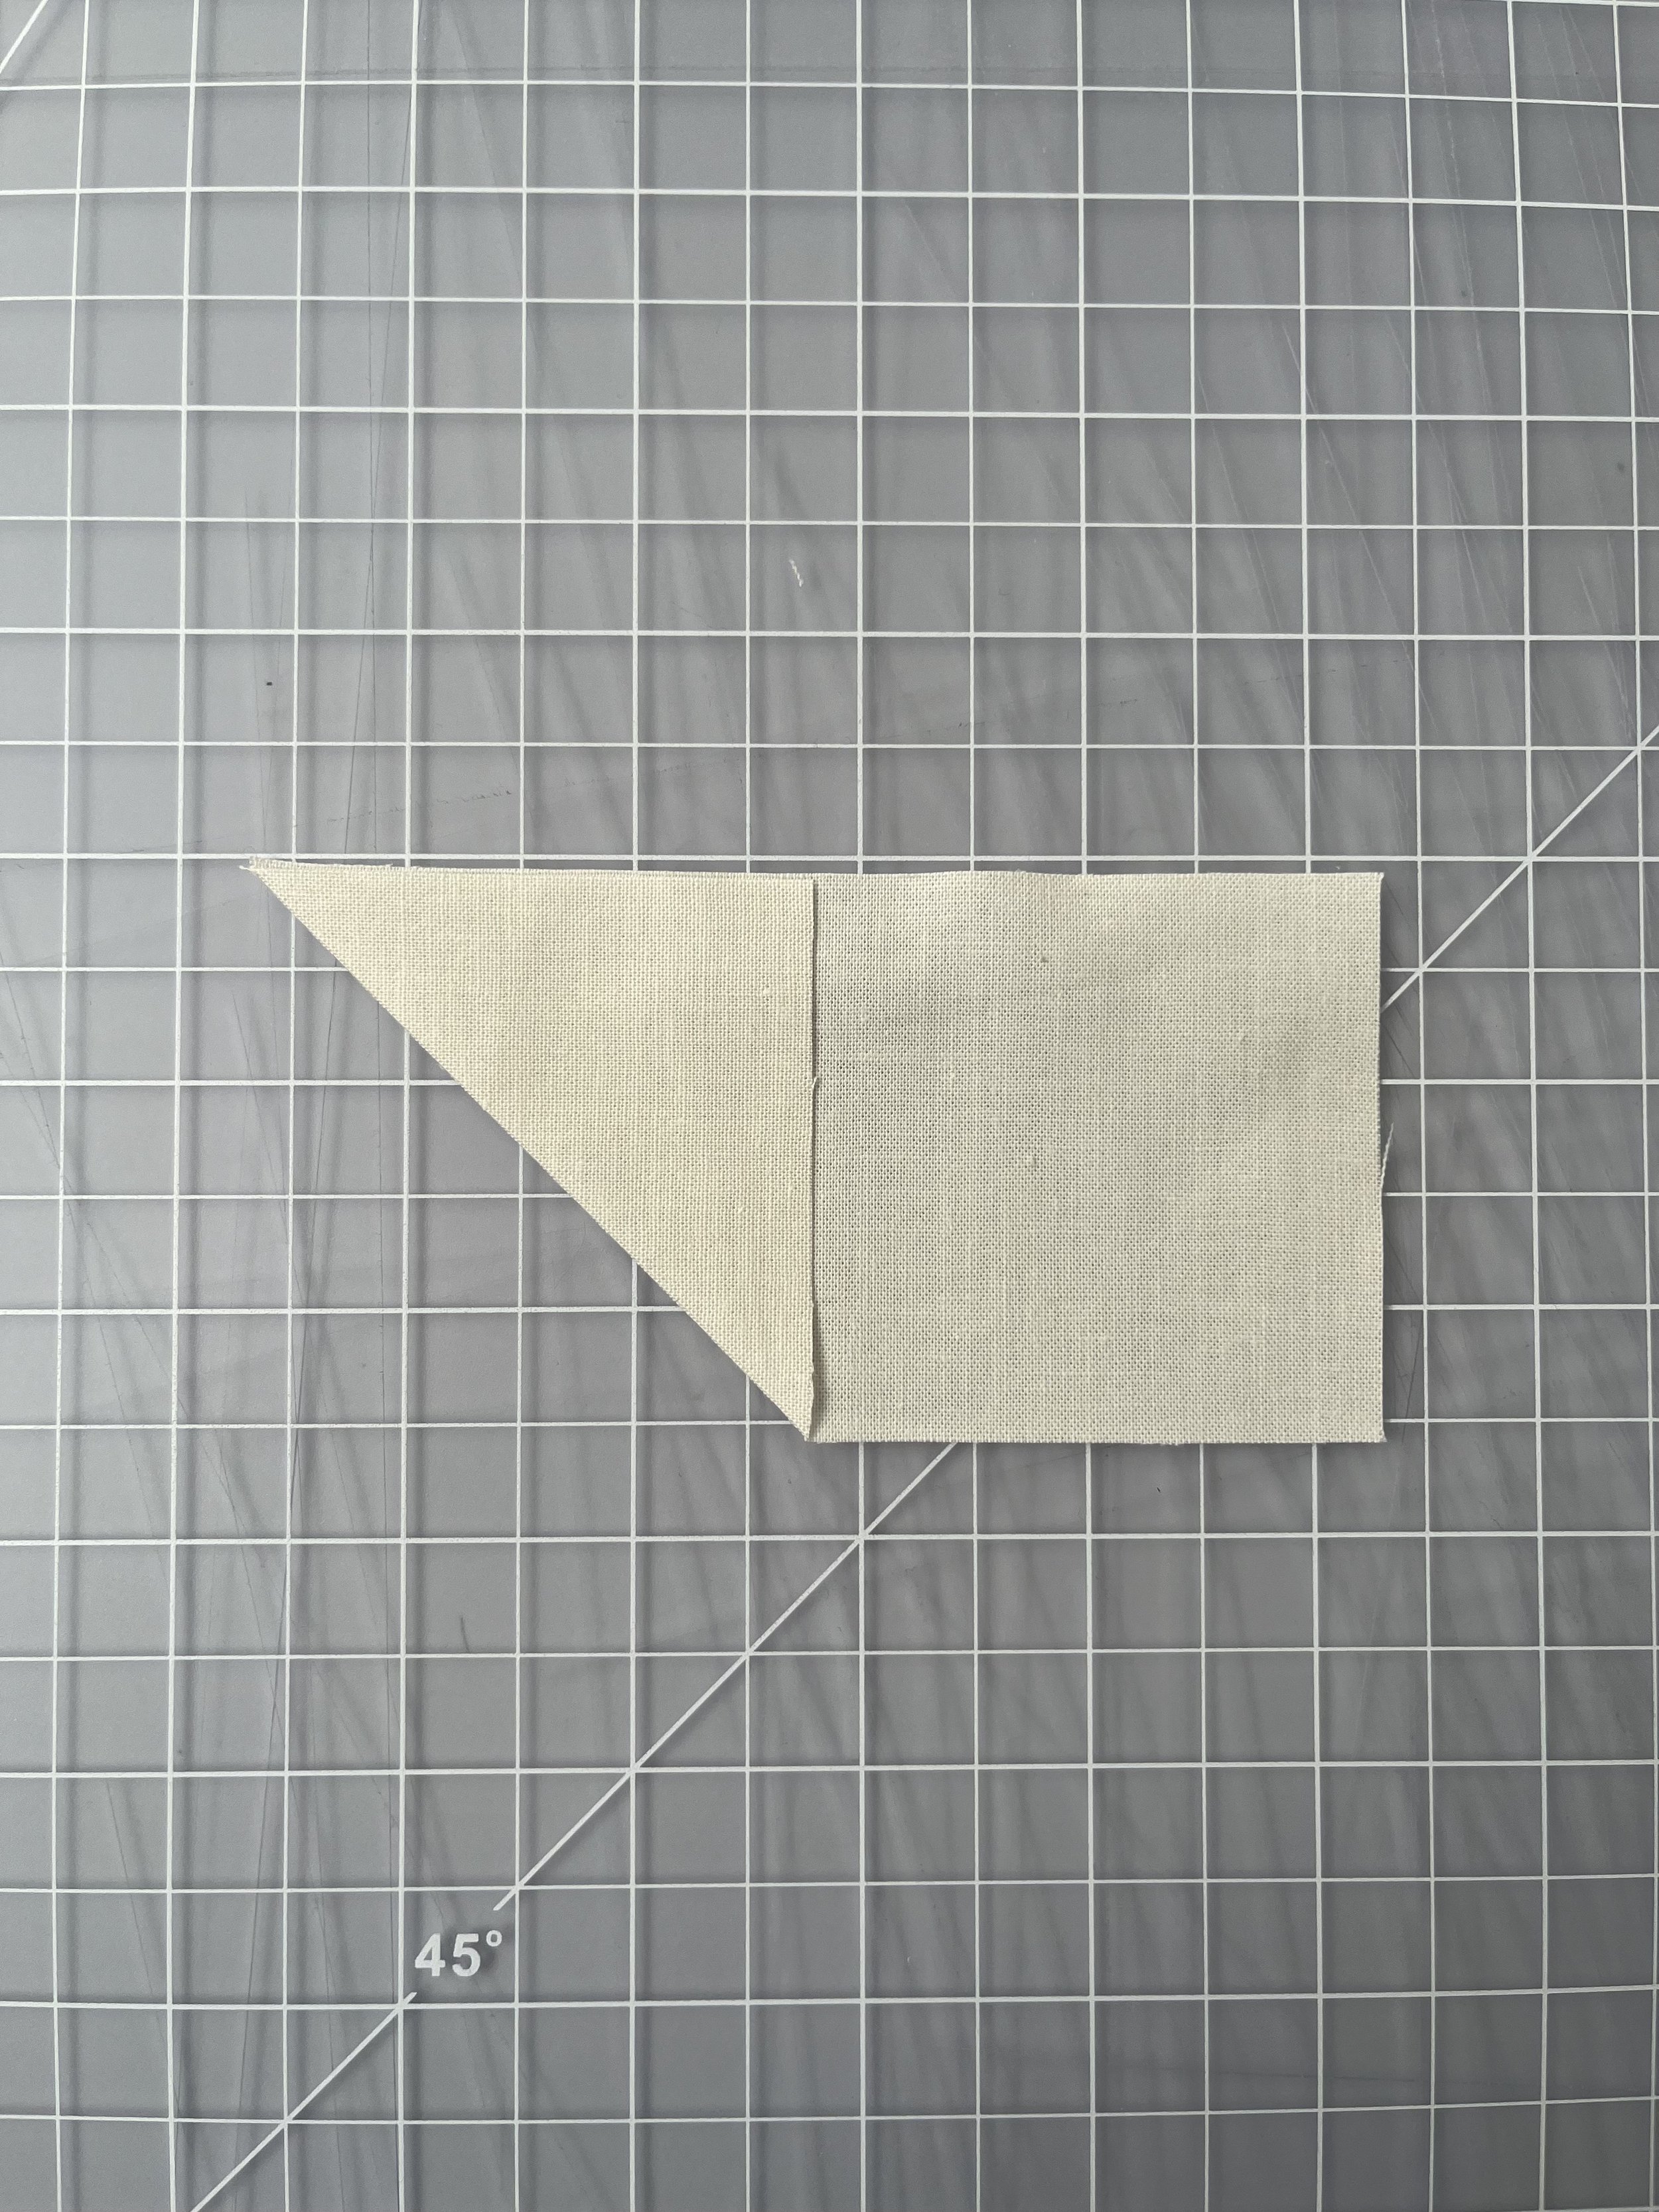
An easy way to mark those diagonal seams. This step is super important for accurate piecing and you will be so thankful you took the time when you’re piecing later on. Marking on a square is super easy, just flip it to the wrong side and use a ruler to mark corner to corner. For the rectangular pieces, it’s a bit trickier because you need to mark a certain corner at a 45-degree angle. The pattern will show you visually where the line should go and my tip for getting an accurate angle is to fold the bottom corner up so the side edge meets the top edge and finger press. You can go over this fold with your marking tool or just use that line as your guide. This way you have an accurate line without needing a larger ruler marked with angles (although that would work great too).

Tip Three:
One at a time! You can chain piece if you’re making multiple of the same block, but trying to make multiple block types at once is a recipe for frustration. I like to prep all my fabrics using the first few pages of the pattern, then go block by block, subcutting and sewing each one before moving on to the next.
Tip Four:
Sew your borders like a pro! My pattern instructions tell you what length to cut for the top, bottom, and side boarders, but my tip is to actually ignore those numbers. The best way to get super flat borders is to measure your quilt top once all the blocks and sashing are sewn together and use those exact measurements to cut your borders. When you measure, use the middle of the quilt, not the edges. As you pin your borders on, you will likely have slightly too little fabric, so use lots of pins and stretch your quilt top to fit to the border. Starting at each end and working to the middle is usually easiest. This will get you super gorgeous, flat borders, ready for quilting!
Tip Five:
Fake it til you make it. The reason I wanted to make a pattern like this, with multiple block types and a bit of fussy piecing, is because I love the challenge. Having said that, I do not love stitch ripping at all. There are going to be times when your pieces aren’t suuuper accurate, or maybe your points don’t line up perfectly, and that is totally fine. Here is a picture of some blocks for my sample quilt. As you can see, the right mug is a little messy. But in the finished quilt you would never know! You can always make up for weird seams with your sashing, and having a finished quilt is so much more satisfying than a few ‘perfect’ blocks.

Handy Tools:
I keep a small ruler with me at my machine so I can easily double check the size of each piece before using it to make sure I have the correct one. Another option would be to label each piece with a sticker or fabric marking pen.
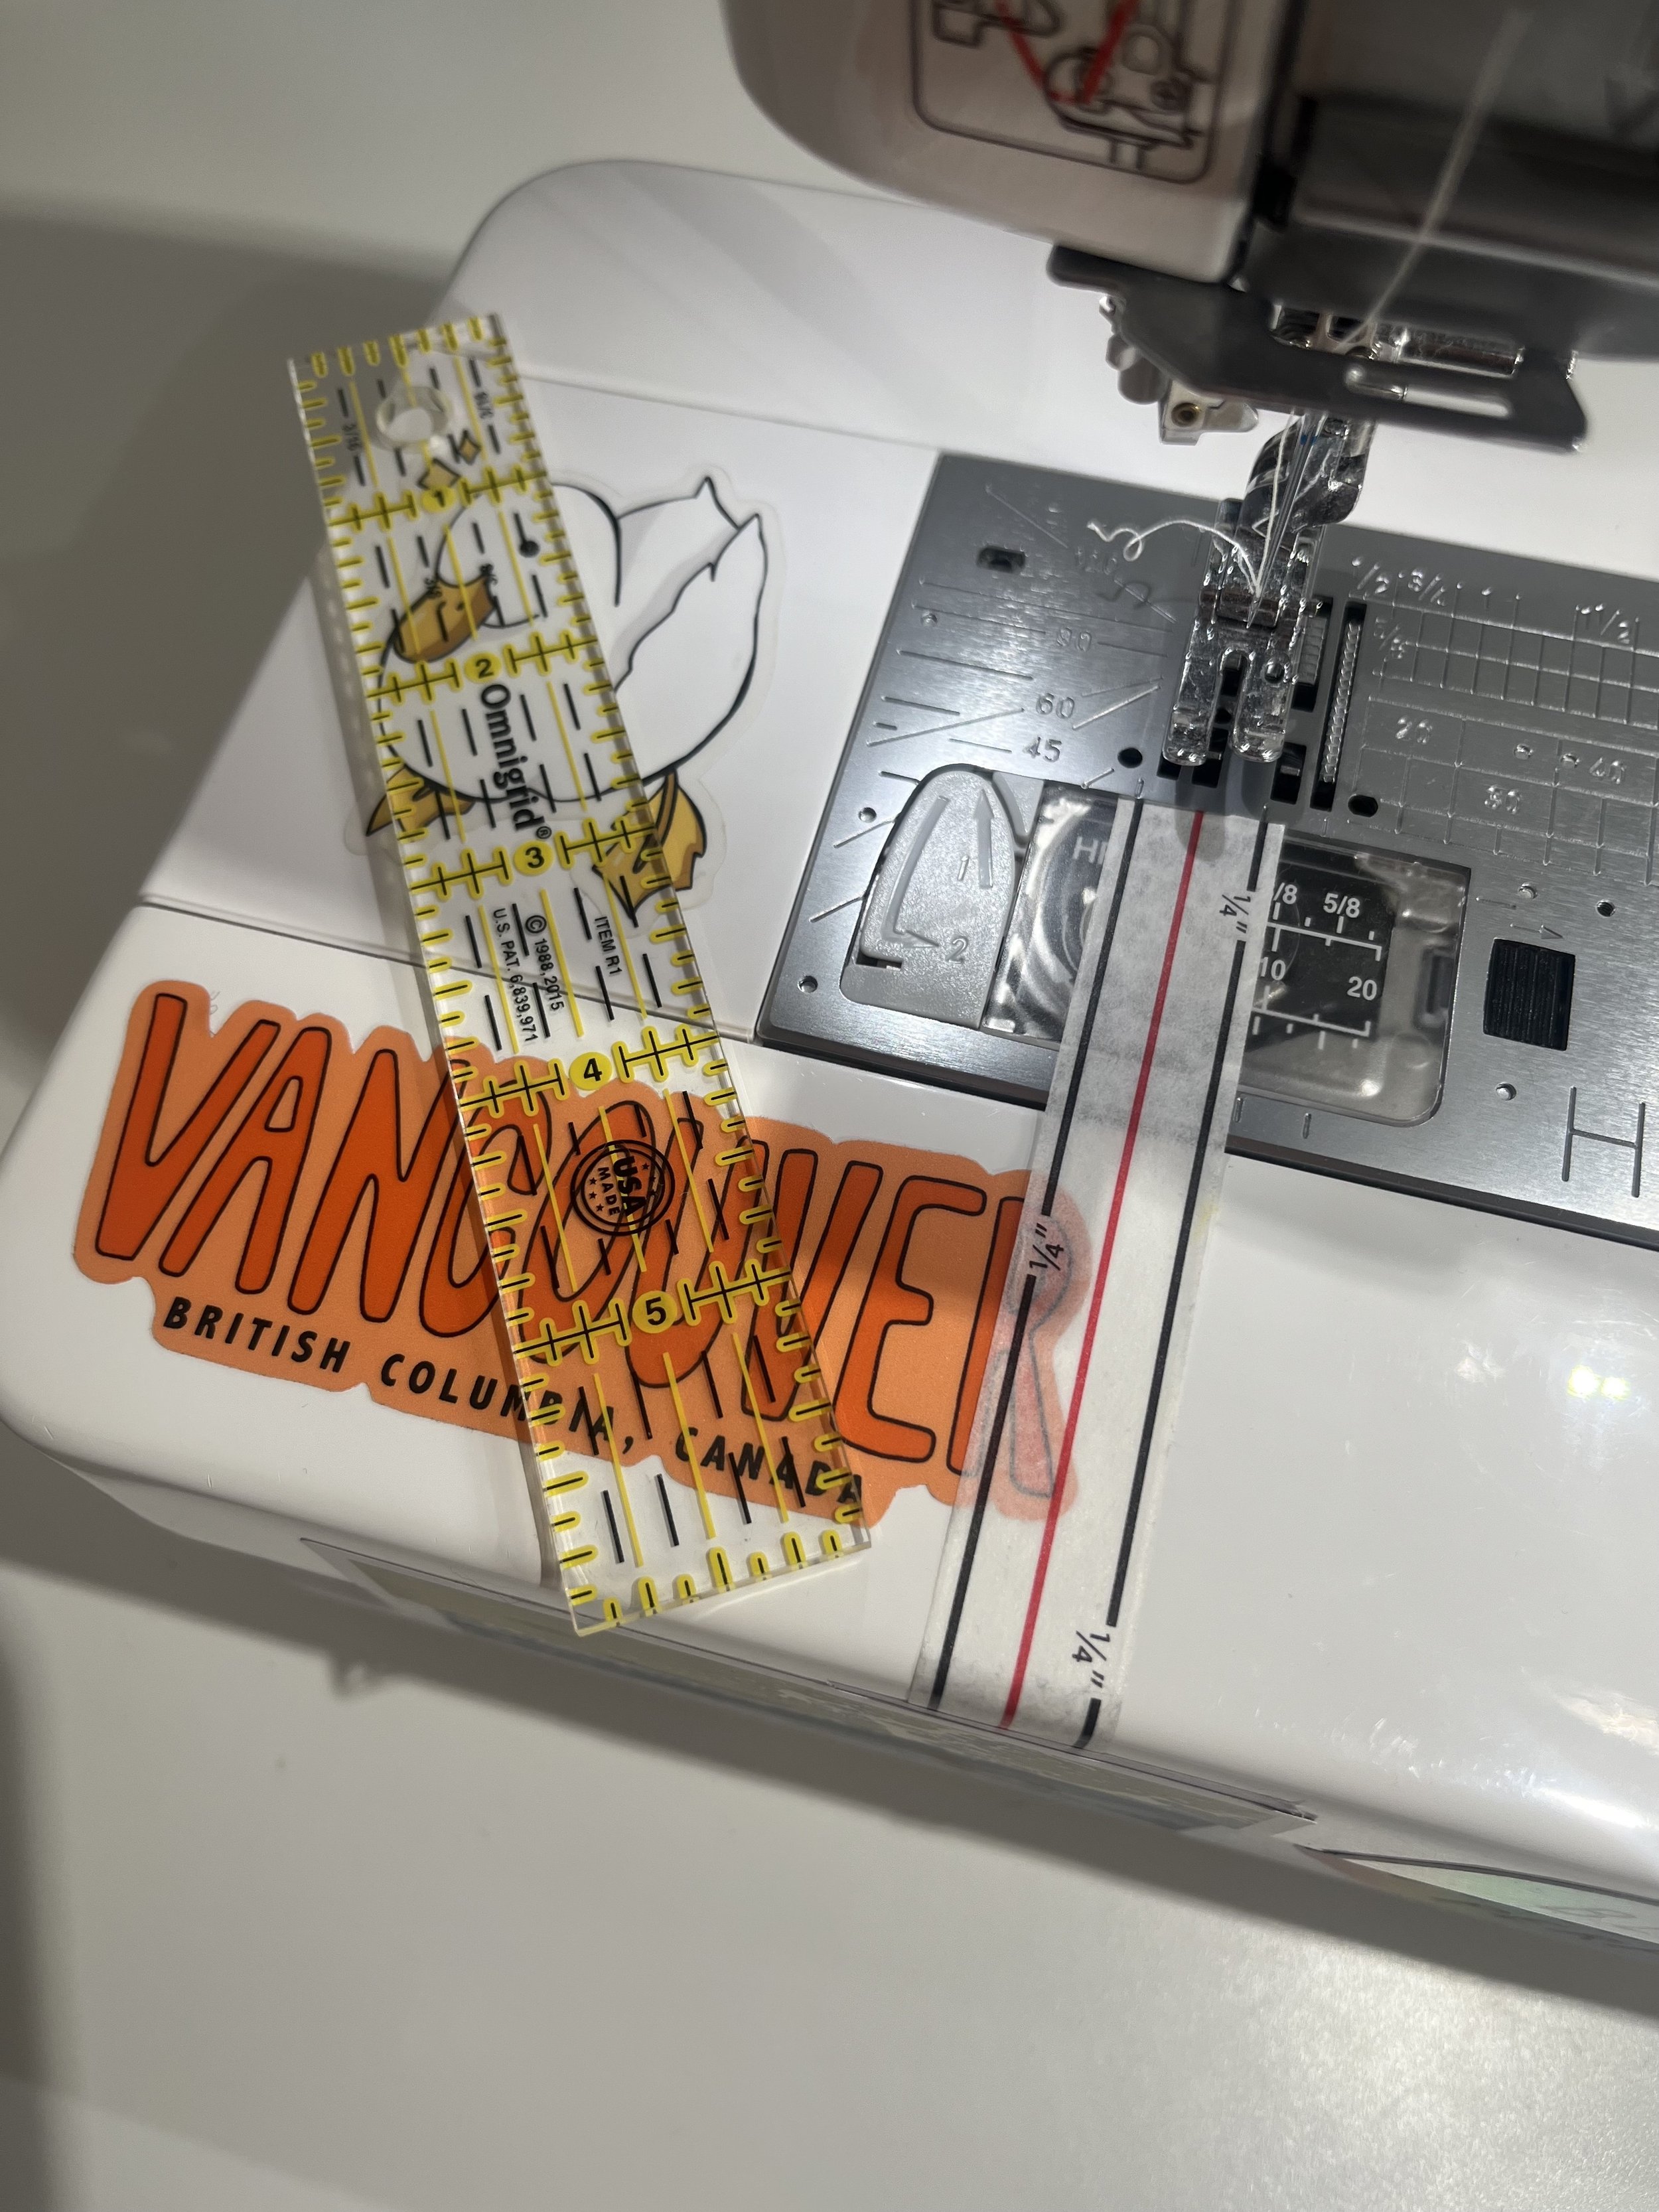
Cluck Cluck Sew 1/4” seam tape for your machine is great for accuracy and sewing diagonal seams.
I’m not a huge pin user but when you’re sewing larger pieces and boarders I highly recommend a few pins.
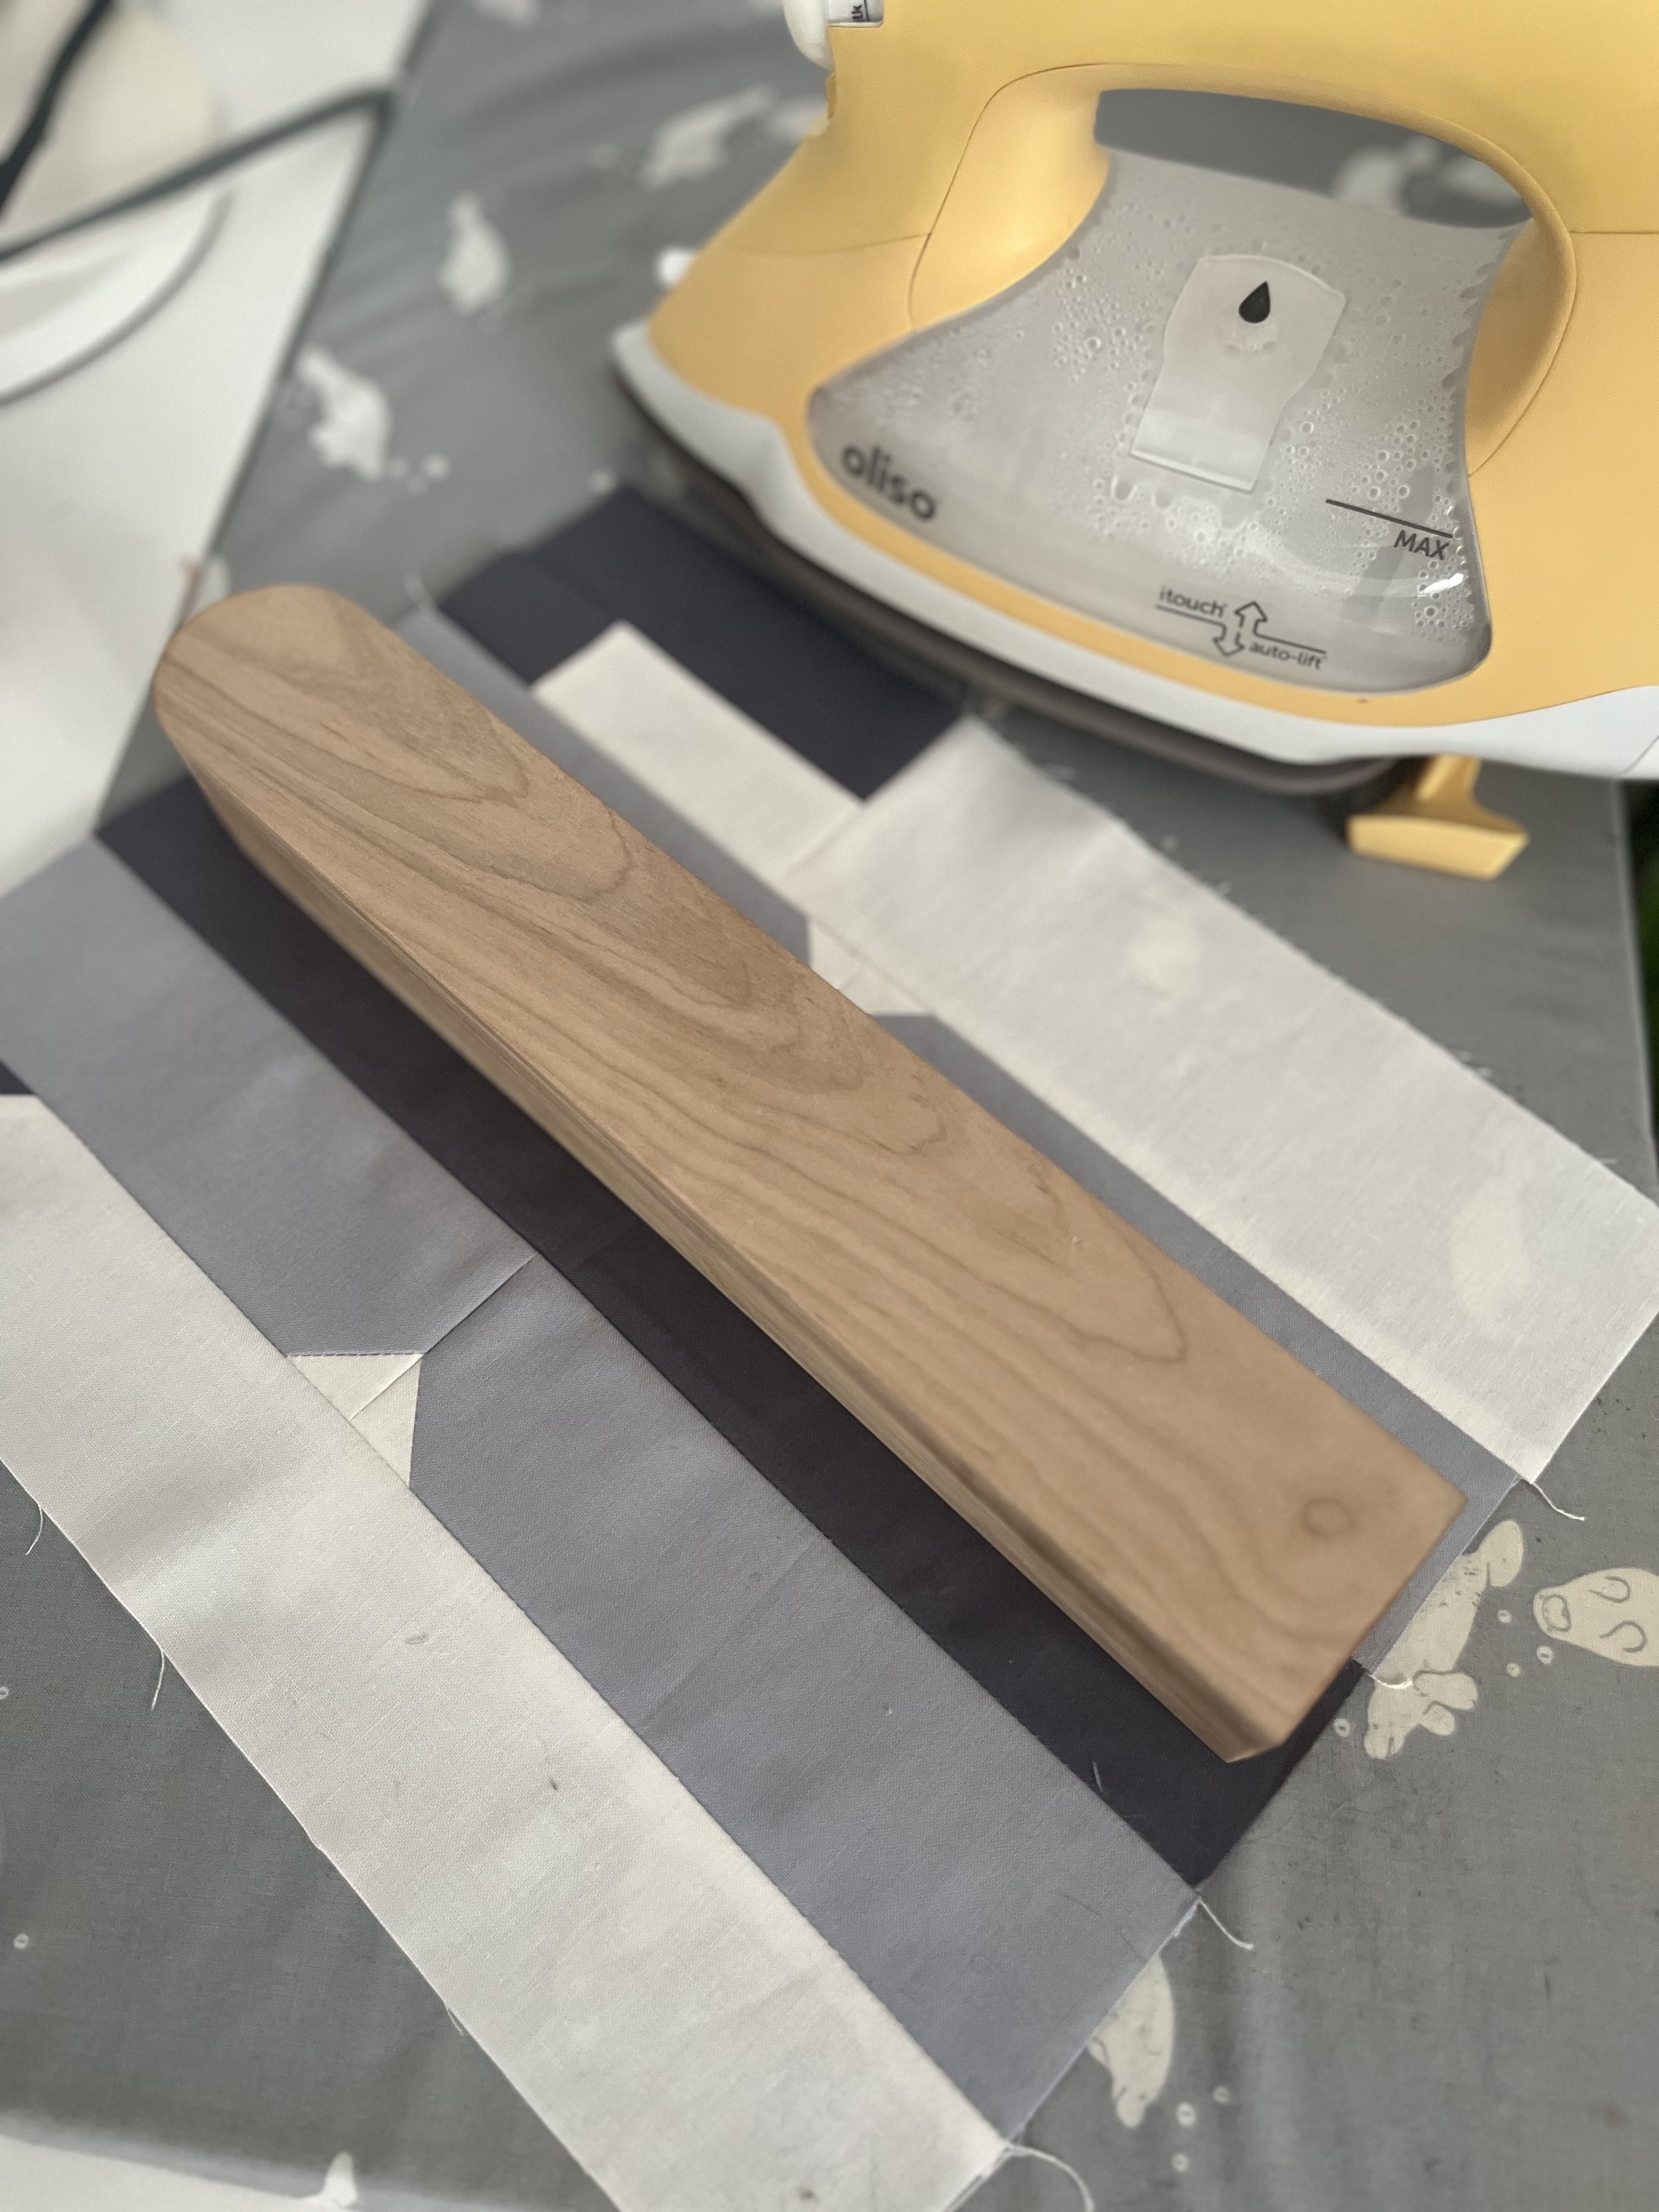
If you have the space, setting up a tiny ironing station beside your machine will save you so much time.
Another helpful but not necessary tool is a clapper. There are a few seams in this quilt that won’t want to lay flat, so a clapper can really help you out.
That’s it! All my little tips and tricks to have fun while making your Just Brewed quilt. If you are struggling with this pattern or have any questions, please reach out to me and I will be happy to help!
Thanks for reading,
Sylvia